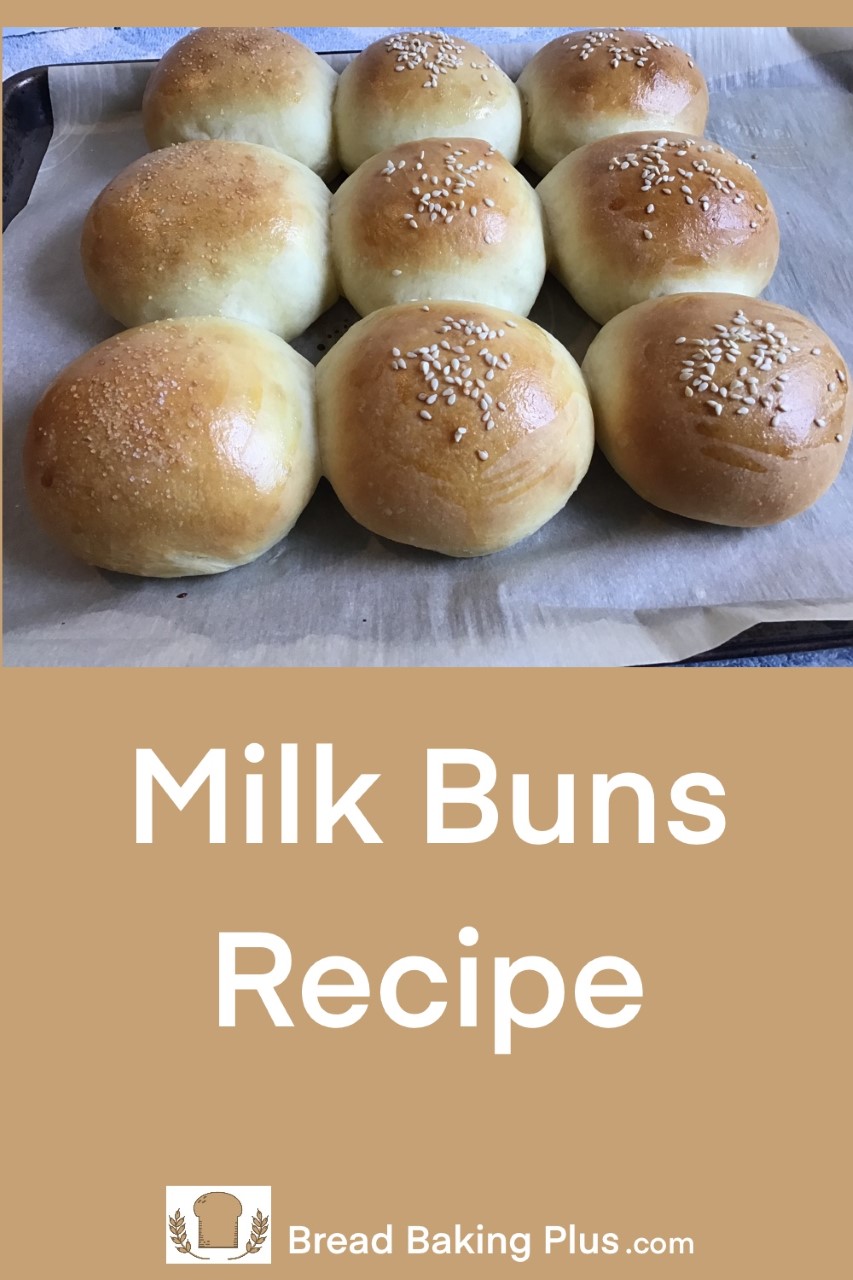
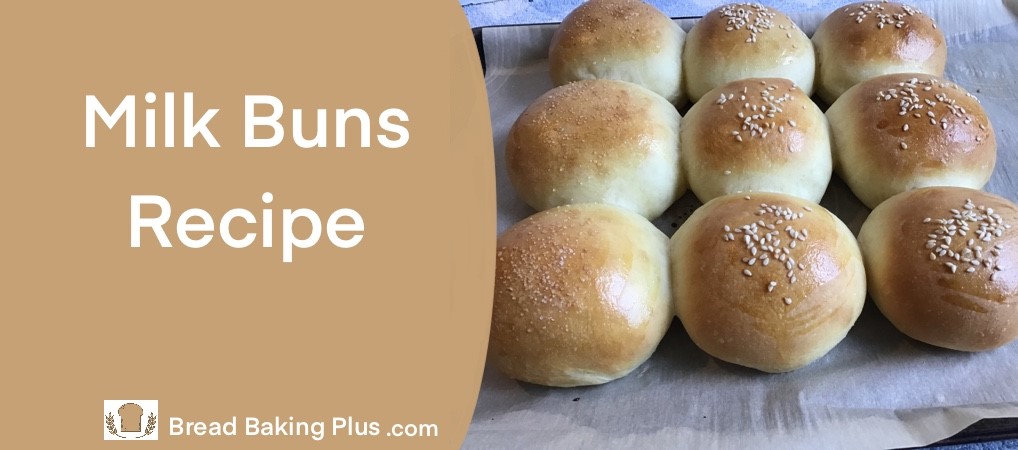
Easy Milk Buns Recipe to make anytime for any meal, any beginner or anyone who loves their own bread at home would love to make.
Nothing better for any meal at home that having on the table a basket full of freshly baked Milk Buns!
I know this recipe will become your favorite and it’s so easy to make it that you will make a copy of it and place it on the fridge!
I was given this recipe by a good friend and since the day I made them for the first time, it became my children’s favorite!
Whether you make these buns to have them to go with a soup or your main dish, or if you want to fill them up with egg or chicken salad, I’m sure you will love the taste of these buns.
Milk Buns Recipe
Ingredients
Starter
- 1 spoon of sugar
- 1 spoon of flour
- 1/2 spoon of dry yeast
- 1/4 cup of water
Milk Buns Recipe – Ingredients
- 2 cups of flour
- 1 spoon of sugar
- 1/2 tea spoon of salt
- 1 Egg
- 80 gr butter
- 1/2 cup milk
- Egg wash
Instructions
1 – How To Make The Starter
In a glass or ceramic container, put all the ingredients for the starter and mix them well with a tea spoon, let it sit for about 15 minutes, until the starter is bubbling.
2 – Combine All Ingredients And Knead The Dough
In the bowl of the stand mixer, add all the starter, the flour, sugar, egg, and milk, start mixing the dough on low speed (2) and keep kneading the dough for about one minute.
You will see the dough start to mix well, in case it needs some liquid, add one spoon of milk at a time, keep kneading the dough for about 2 more minutes, add the salt and keep kneading the dough for about 10 minutes.
3 – Proof The Dough
Cover the mixer bowl with a kitchen towel to proof the dough, let it rest in a warm place in the kitchen until it doubles its size.
4 – Divide the Dough
Punch the dough and divide the dough in half first, then divide each half in two and then each piece again in two.
Some dough pieces might be larger than the rest, you can take some dough from these bigger pieces to make 9 pieces in total.
5 – Roll To Form The Buns
On a dray surface of the kitchen table or counter, roll each dough piece to make the buns.
As you keep working to roll each bun, place each bun on a baking pan covered with parchment paper. (you don’t need to add any fat on the paper)
Once you have the 9 buns made, cover with a kitchen towel and let them proof for about 1 hour.
6 – Bake The Milk Buns
Set the oven to 380F and while you wait the oven to warm up, you can work on brushing the buns with the egg wash (egg + milk) and sprinkle the buns with sesame seeds, poppy seeds, or salt.
Bake the Milk Buns for 12 minutes or until the top is golden and the bottom is light brown.
Take out the milk buns from the oven and let them cool off.
Can The Milk Buns Recipe Be Made With Water, Instead Of Milk?
Yes, you can substitute the milk for water, but just keep in mind that water tends to make bread not as soft and fluffy.
Can The Milk Buns Recipe Be Made For Breakfast?
Yes, you can make this recipe the day before and let it proof inside the fridge in a glass bowl, covered with a plastic lid or bag, the cold temperature will help the dough to proof slowly and the dough will be ready to roll the buns early in the morning.
The milk buns can also be filled with jam, peanut butter, and I’m sure you will love the taste of these buns.
Can The Milk Buns Be Kept In The Freezer?
Yes, you can freeze these buns, follow the recipe and once they are baked, let them cool off completely and then put the buns in a freezing bag, then place the bag in the freezer.
Take one bun at a time from the freezer, or take out as many buns as you need for the next meal, let it defrost at room temperature, and they can be warmed up in the oven.
Related: How To Keep Your Bread Fresh Longer
Milk Buns Recipe, Closing Thoughts
When you love the taste of any bread made at home, then the milk buns will be on top of the list of your favorite breads to make.
They are so easy to make and they always taste good, whether you have them like a bun with soup or a main dish, or when you spread some butter and jam on them.
If you make this recipe, let us know how it went on a comment, we’d love to hear from you!
Happy Baking!
Thanks so much for sharing our blog on your Social Media!


I love home made bread and I can almost smell these milk buns as I am reading the recipe. It seems like a very straightforward and easy recipe to make and I can make it with my granddaughter, the next time she is with me. Great to know that these mils buns can also be frozen, so I will make a double batch to put some in the freezer. Thanks for sharing.
Hello there, Alex! This is a great post! Since the pandemic started, I have been trying to take on new hobbies and baking is one of them. Personally, I feel like baking is one of the hardest forms of cooking since it requires such precise ingredients and care. I actually have tried making milk buns before but it did not come out how I had anticipated. The final product always seems to come out quite tough in texture. I will try making it again with your recipe. Unfortunately, I do not have a stand mixer. I guess if one were to knead by hand, how much time should I spend on it? I heard the goal is to achieve that window-pane formation where you stretch out the dough and it maintains a thin membrane (the window). I feel like I get the dough to that state, but I can’t seem to tell at which stage I keep messing up at. Thanks for this!
Hello there, Mike! Thanks so much for visiting my blog again, and leaving a question about how much time to knead the milk buns dough when you’re kneading the dough by hand, I would say from 8 to 10 minutes, and stop when the dough forms a ball and it stops being sticky, I would not look for the moment when the dough gets to the point of window-pane formation, it’s better to stop kneading a dough before than over due. Let the dough rise to double and form the buns, I tend to hand the dough very softly and never knead the dough too much. Hope this tips help you to get the milk buns better at home.
Regards
Alex